Clearing your DNS cache is a relatively simple process, but it varies depending on your OS. It also matters whether you need to flush it from your computer or your browser. Below, we’ve explained how to carry out this task for the macOS, Windows, and Linux Operating Systems (OSs), as well as on the Google Chrome browser.
1. How to Clear DNS Cache on macOS
In order to clear the DNS cache on a Mac, you’ll need to open the native command-line interface known as Terminal and run the appropriate command. This process varies based on which version of macOS you’re running.
If you’re not sure what version you’re working with, click on the ‘apple’ icon in the top-left corner of your desktop, and select About This Mac:

Opening the About This Mac window
Your current version will be the first piece of information listed:
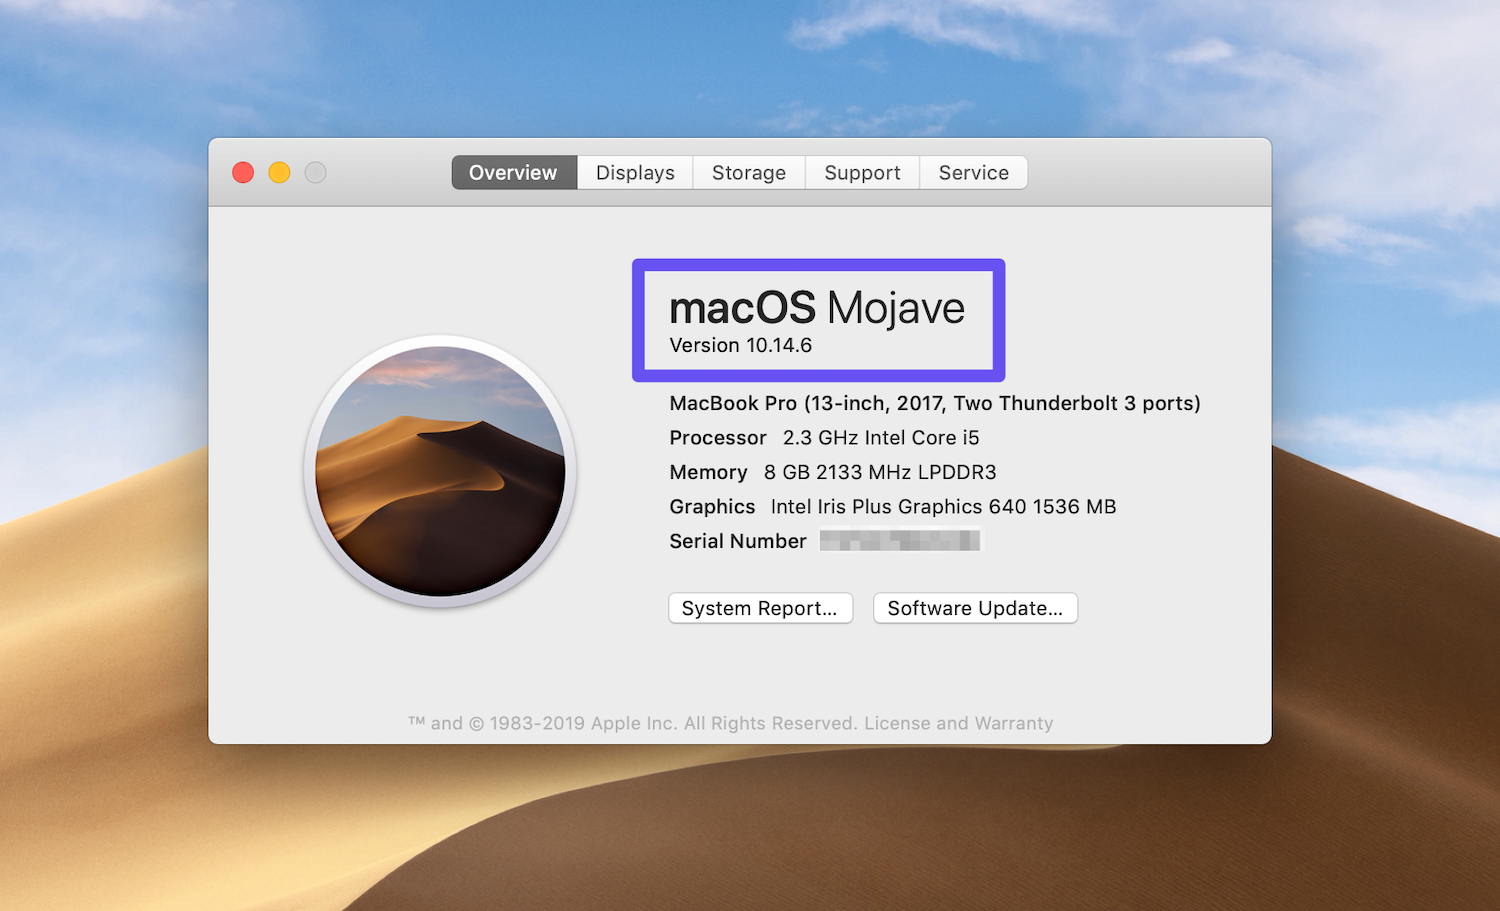
Viewing the current macOS version
Once you know this information, you can follow the relevant steps below.
macOS El Capitan (10.11), Sierra (10.12), High Sierra (10.13), Mojave (10.14), and Catalina (10.15)
If you’re working on macOS version 10.11 or above, open the command line interface by clicking on Go > Utilities:
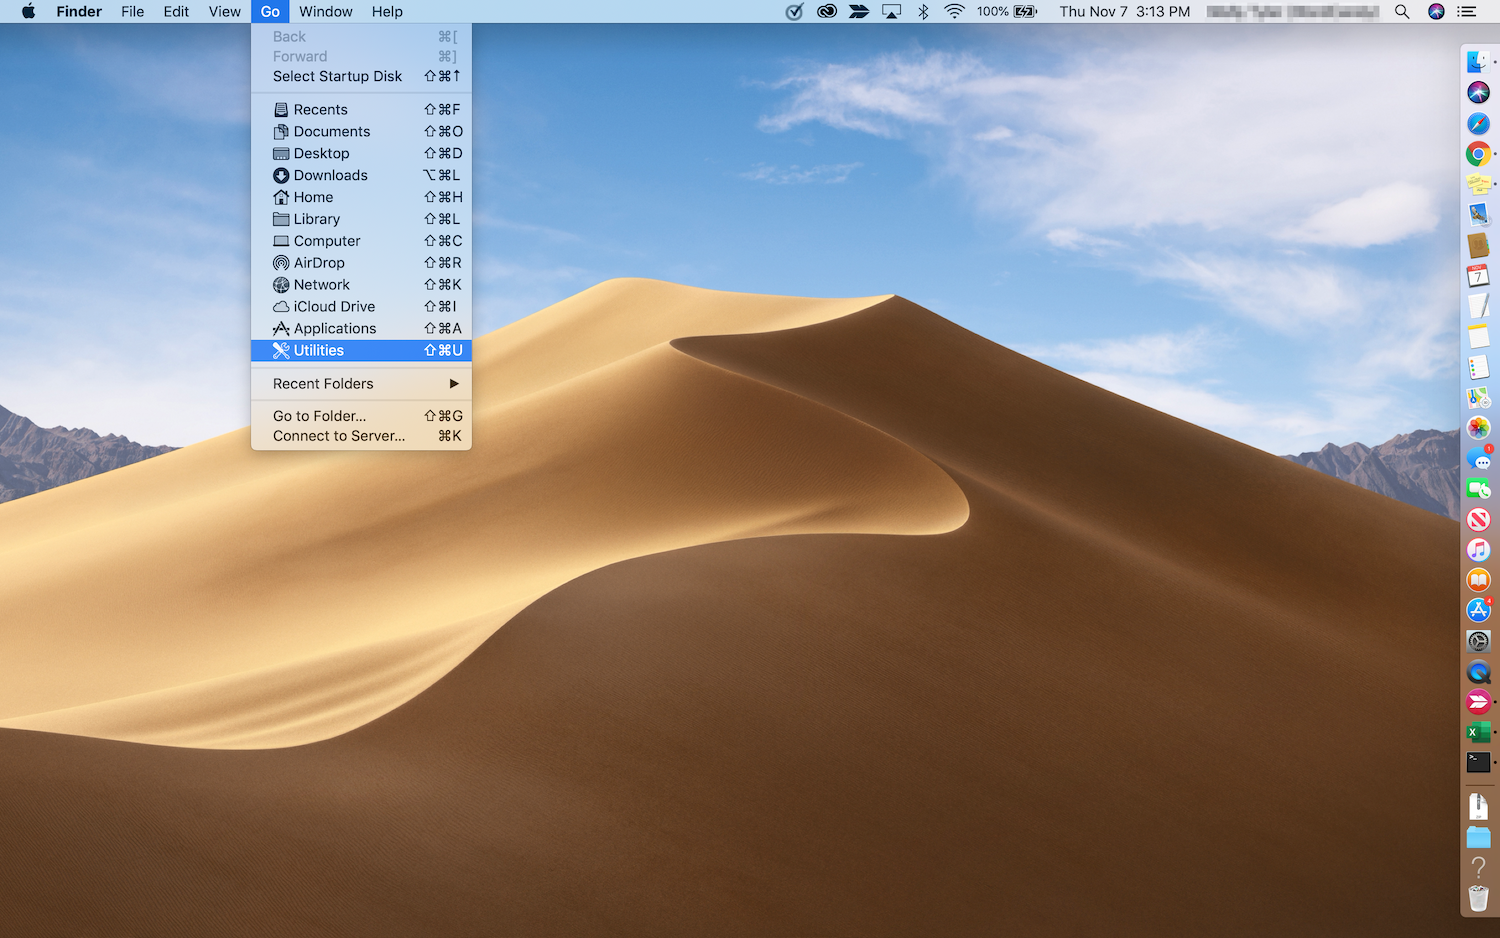
Accessing the Mac Utilities
Then select Terminal. Once it opens, run the following command:
sudo killall -HUP mDNSResponder
You’ll be prompted to enter your computer password:
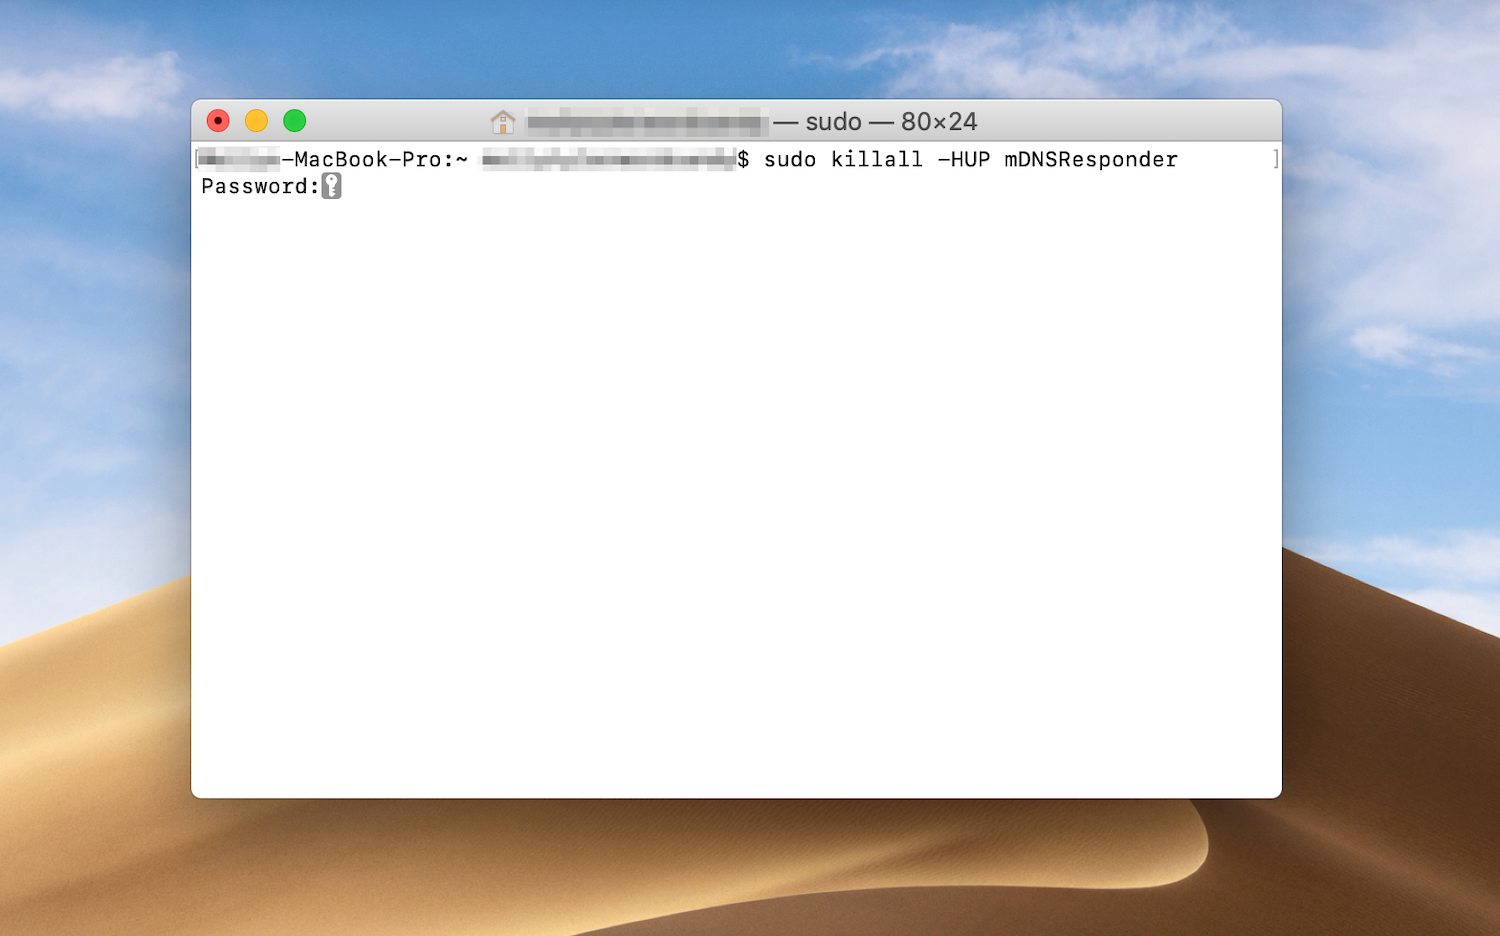
Entering the admin password to execute the DNS flush command
After you’ve done so, your DNS cache should be clear.
macOS Yosemite (10.10)
You can access Terminal by the same method described above for any macOS version. In Yosemite (10.10), once the window opens you’ll need to run the following command:
sudo discoveryutil udnsflushcaches
Enter your computer’s password and the DNS cache should successfully flush.
macOS Lion (10.7), Mountain Lion (10.8), and Mavericks (10.9)
For macOS versions 10.7 to 10.9, open up Terminal and run the following command to clear your DNS cache:
sudo killall -HUP mDNSResponder
You may notice that this is the same command used by versions 10.11 and above. Enter your password to execute it.
macOS Snow Leopard (10.6)
If you’re running macOS Snow Leopard (10.6), open Terminal and input this command:
sudo dscacheutil -flushcache
Then, enter your password to finish clearing the DNS cache.
macOS Leopard (10.5)
Finally, macOS Leopard (10.5) users should run the following command in Terminal:
sudo lookupd -flushcache
Once you enter your password, the DNS cache should be flushed.
2. How to Clear DNS Cache on Windows
Flushing your DNS cache on a Windows computer is fairly simple. Here’s how to accomplish this task on Windows 10, 8, 7, and XP.
Windows 10
To clear your DNS cache on a Windows OS, you’ll need to open Command Prompt, the system’s command line interface. You can access this program in Windows 10 by clicking on the Start button. Then navigate to Windows Systems > Command Prompt:
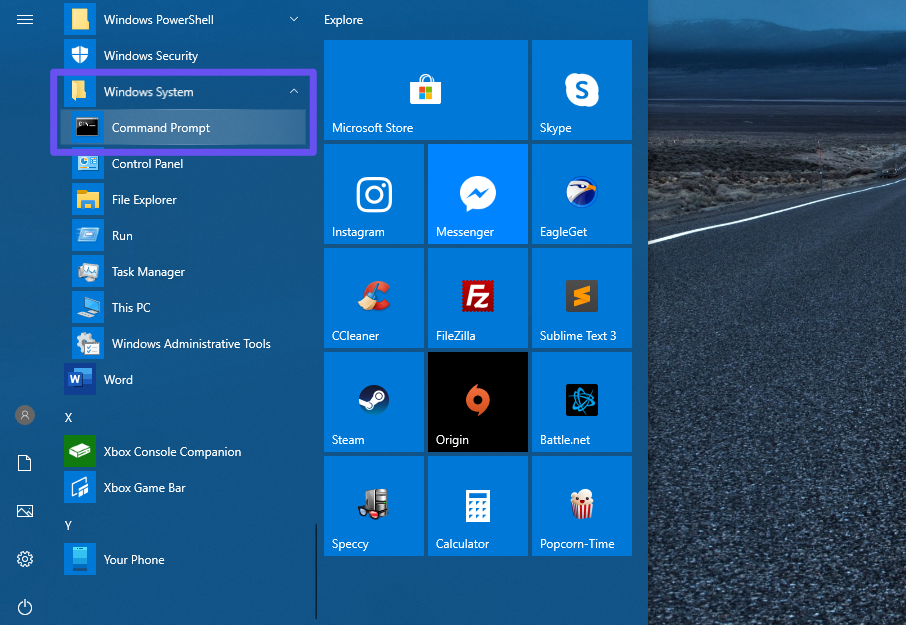
Opening Command Prompt from the Windows Start menu
Once the command line interface is open, enter the following line:
ipconfig /flushdns
This command should return a confirmation that the DNS cache has been successfully flushed:

The Command Prompt DNS cache flush confirmation message
You can then close the Command Prompt window.
Windows 8
Clearing your DNS cache in older versions of Windows requires the same command ipconfig /flushdns. However, the steps for accessing Command Prompt are slightly different between versions.
In Windows 8, open the Apps screen. On the far right side, find Windows Systems and select Command Prompt.
Once the program opens, run ipconfig /flushdns. You should receive a confirmation once the DNS cache has been cleared successfully.
Windows 7 and Windows XP
In Windows 7 or Windows XP, click on the Start button. Navigate to All Programs > Accessories and select Command Prompt.
In the command line interface, run ipconfig /flushdns. You should receive a confirmation message once the DNS cache is flushed.
3. How to Clear DNS Cache on Linux
Flushing your DNS cache on Linux machines is fairly similar to the process of doing so on a Mac or Windows computer. Here’s how.
Ubuntu
Linux uses Terminal as its command line interface, just like macOS. To open it, click on Activities in the top-left corner of your desktop This will provide you with a search bar, where you can enter “terminal” to find and launch the program.
Once the command line interface is open, execute this command:
sudo systemd-resolve --flushcaches
Terminal will then prompt you for your password. Enter it to finish executing the command and flushing your DNS cache.
Other Distributions
If you’re using a Linux distribution other than Ubuntu, you can flush your DNS cache by opening your command line interface and running this command:
sudo /etc/init.d/dns-clean start
Once the command is executed, your cache should be clear.
4. How to Clear DNS Cache on Google Chrome
Finally, as we mentioned at the beginning of this post, you may have cause to clear your browser’s DNS cache rather than your OS’s. In Google Chrome, you can do so by entering the following into the address bar:
chrome://net-internals/#dns
Then click on the Clear host cache button:

The Clear host cache button in Google Chrome
This should flush Chrome’s DNS cache for you.